The first part of this mini-series dealt with Continuous Integration/Continuous Delivery in the context of database applications. More specifically how to use the SQLcl (Oracle SQL Developer Command Linx) project command to create and move an APEX app from development to production.
This article consists of 2 parts:
- Part 1: https://martincarstenbach.com/2025/06/25/thementage-2025-ci-cd-demo-part-1/
- Part 2: https://martincarstenbach.com/2025/06/26/thementage-2025-ci-cd-demo-part-2/
Recap
Please refer to part 1 for setup instructions and the creation of the base release. The first part introduced the SQLcl projects workflow:
- Local development (maybe using a container instance on your laptop)
- Export of relevant schema objects to generate the target state
- Staging the changes in preparation for a deployment. This step is crucial because it automatically creates a diff, or delta, to get from target state (your development environment) to the state right now
- Crafting a release
- Generating a deployable artifact
Let’s look at each in more detail, this time you are going to see how to change an application to go from version 1.0 to 1.1.
Demo
Let’s explore how to create version 1.1 of the application. Remember that the todos table contains a column named priority which allows you to define a numeric priority in the range of [1,3]. That’s not very good, because it doesn’t specify which number indicates the highest priority. Is it 1? Or 3? Let’s extend the data model with another table, priorities, to solve that mystery.
Towards version 1.1
A ticket has been created to fix the ambiguity of the priority column, let’s implement the ticket. For the sake of this article it is called ticket-1.
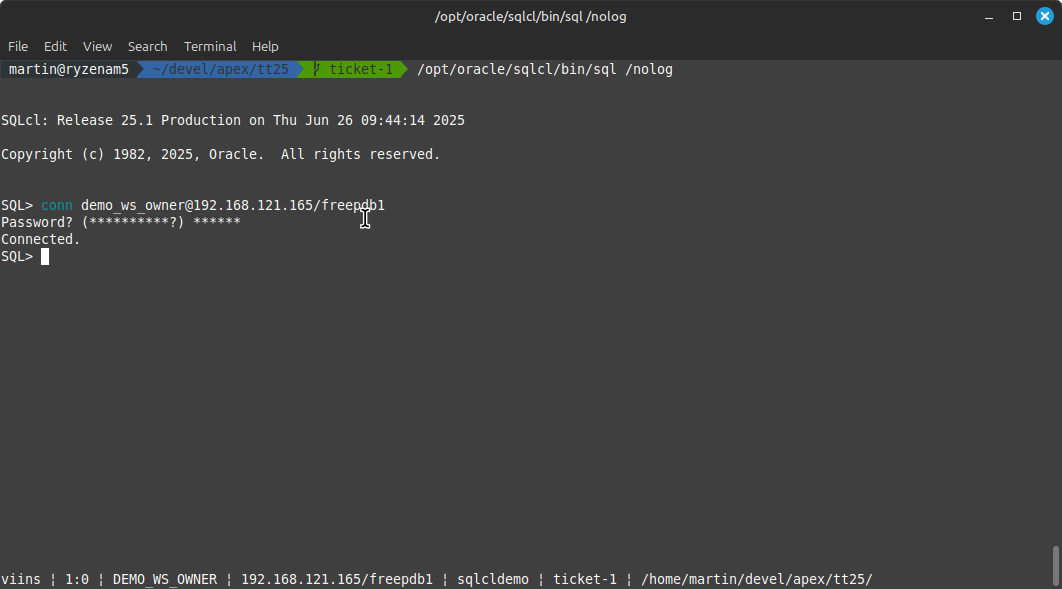
Start off by creating a new, super-short-lived feature branch. It’s very convenient to name the branch after the ticket, that makes it easier later on to assess what’s been done to the application. Then connect to the development environment, DEMO_WS_OWNER
connect demo_ws_owner@localhost/freepdb1

[ ... ]

! git checkout -b ticket-1
Remember that login.sql file? You can set your status bar to reflect your branch, working directory, and many more. This is what it looks like:
With the new branch created, it’s time to amend the data model as discussed earlier in the article
-- add the new table
create table priorities (
    id number constraint pk_priorities primary key,
    name varchar2(10)
);

-- populate the table
insert into priorities (id, name) values
(1, 'low'),
(2, 'medium'),
(3, 'high');

-- add a foreign key
alter table todos add constraint fk_todo_prio foreign key (priority) references priorities;

-- index the foreign key (not strictly speaking necessary but useful in the context
-- of this demo
create index i_todos_priorities on todos (priority);

-- remove the check constraint now that a foreign key is in place
alter table todos drop constraint C_TODOS_PRIO;

commit;
That’s the data model updated, time for the application! Connect to the APEX development environment, and edit pages 2 and 3 as follows.
Page 2 (View Todos)
- extend View Todos’s “columns”, click on priority
- change type to plain text based on list of values
- LOV type: SQL Query
- SQL query:
select name as d, id as r from priorities - Save the page
Page 3 (Edit Todos)
- click on P3_PRIORITY, part of Edit Todos
- change type to select list
- LOV type: SQL Query
- SQL query:
select name as d, id as r from priorities - Save the page
Run the application to ensure that everything works as expected. Both pages 2 and 3 should no longer show the numeric representation of your todo item’s priority.
The next step is to export the application and schema.
Creating the diff between release 1.0 and 1.1
Currently the application changes reside in your local development environment. Before they can be moved into production a few extra steps are needed.
- exporting the schema and APEX application
- staging the changes, e.g. creating the diff between release 1.0 and 1.1. This is done automatically for the most part
- creating release 1.1 and the artifact
- deploying into production
Let’s start off by exporting the application and data model and committing against the ticket branch (the current branch is visible in the status bar – it must be ticket-1 or whatever other name you choose)
project export

! git add .
! git commit -m "ticket-1: initial export complete"
Committing is essential, the project stage command compares the branch’s status with main to identify the delta. Stage the files:
project stage -verbose
The command output provides a very useful warning:
SQL> project stage -verbose

Starting execution of stage command using the current branch

Stage is Comparing:
Old Branch	refs/heads/main
New Branch	refs/heads/ticket-1

Created dir:   dist/releases/next/changes
Created dir:   dist/releases/next/changes/ticket-1
Created dir:   dist/releases/next/changes/ticket-1/_custom
Created change:dist/releases/next/changes/ticket-1/stage.changelog.xml
Updated file:  dist/releases/next/changes/ticket-1/demo_ws_owner/indexes/i_todos_priorities.sql
Updated change:dist/releases/next/changes/ticket-1/stage.changelog.xml
Updated file:  dist/releases/next/changes/ticket-1/demo_ws_owner/ref_constraints/fk_todo_prio.sql
Updated change:dist/releases/next/changes/ticket-1/stage.changelog.xml
Updated file:  dist/releases/next/changes/ticket-1/demo_ws_owner/tables/priorities.sql
Updated change:dist/releases/next/changes/ticket-1/stage.changelog.xml
Updated file:  dist/releases/next/changes/ticket-1/demo_ws_owner/tables/todos.sql
Updated change:dist/releases/next/changes/ticket-1/stage.changelog.xml
Updated change:dist/releases/next/changes/ticket-1/stage.changelog.xml
Updated change:dist/releases/next/release.changelog.xml
Updated change:dist/releases/next/release.changelog.xml
Updated change:dist/releases/apex/apex.changelog.xml
Created file:  dist/releases/apex/f100/f100.sql
Created change:dist/releases/apex/f100/f100.xml

Completed executing stage command on branch: ticket-1
WARN: Changes that include a drop and will need to be reviewed and edited.
todos.sql	TABLE	TODOS

Stage processesing completed, please review and commit your changes to repository

Changes not staged for commit
	modified: dist/releases/apex/f100/f100.sql
	modified: dist/releases/apex/f100/f100.xml
	modified: dist/releases/next/release.changelog.xml

 Untracked files:
	artifact
	dist/releases/1.0/changes/base-release/_custom
	dist/releases/next/changes
SQL>
viins ¦ 1:0 ¦ DEMO_WS_OWNER ¦ localhost/freepdb1 ¦ sqlcldemo ¦ ticket-1 ¦ /home/martin/devel/apex/tt25/
Remember that you dropped the check constraint as part of your changes to the data model. Dropping things is a potentially dangerous operation, therefore you must review those DDL commands (by default they are commented out). In this case it’s safe to drop the check constraint. Edit dist/releases/next/changes/ticket-1/demo_ws_owner/tables/todos.sql to that effect.
Changes are staged in dist/releases/next. There’s a little problem though: you manually inserted 3 priorities into the priorities table. That’s something the application deployment should do, too. You can create custom scripts for that.
project stage add-custom -file-name priorities.sql
This command creates dist/releases/next/changes/ticket-1/_custom/priorities.sql and makes sure it’s going to be deployed by inserting it into the release’s changelog.
Edit the file and add the insert command:
insert into priorities (id, name) values
(1, 'low'),
(2, 'medium'),
(3, 'high');

commit;
Finally, commit all the changes
! git add .
! git commit -m "ticket-1: coding complete"
That’s it for now, with no further pending tickets in this hypothetical scenario it’s time to create release 1.1
Creating release 1.1
Creating the release is as simple as running
project release -version 1.1 -verbose
This moves the staged files from dist/releases/next to dist/releases/1.1 and updates the Liquibase configuration transparently. Commit everything
! git add .
! git commit -m "ticket-1: release created"
The remainder of the tasks is straight forward. Merge ticket-1 into main, and generate the artifact.
Preparing to deploy into production
Let’s merge ticket-1 into production
! git checkout main
! git merge ticket-1
With the merge complete, generate the artifact and deploy into production
project gen-artifact

connect prod_ws_owner@localhost/freepdb1

project deploy -file artifact/sqlcldemo-1.1.zip
Ensure everything works as expected in the production workspace, and celebrate a successful release
Summary
In this 2 part article series you saw how to use SQLcl projects to drive your database changes. Instead of an APEX application you could have used anything really – React, Vue, Angular, Flask, Django, you name it. There’s a wealth of information out there about CI/CD in the context of relational databases, SQLcl projects provides an opinionated approach that works well with Oracle database.

You must be logged in to post a comment.